How to Seal a Diamond Painting: Step-by-Step Guide – Figured'Art
Sealing your diamond painting is a critical step in securing your diamond beads to the canvas and preserving it from dust and other harm. We show you how!
How to seal and protect my diamond painting ?
Have you finally completed your diamond art? Congratulations, you should be proud of what you accomplished! Although diamond painting is a relaxing activity, it is nonetheless a project that requires rigour and concentration to create a unique and sparkling piece of art. It's now time to secure your creation to keep diamonds in place and protect it from dust and other potential damages. You may then frame it and hang it in your home or give it as a present to someone special.
So, to effectively secure your diamond painting, follow our step-by-step guide!
What you will need to seal your diamond art
Your completed diamond painting
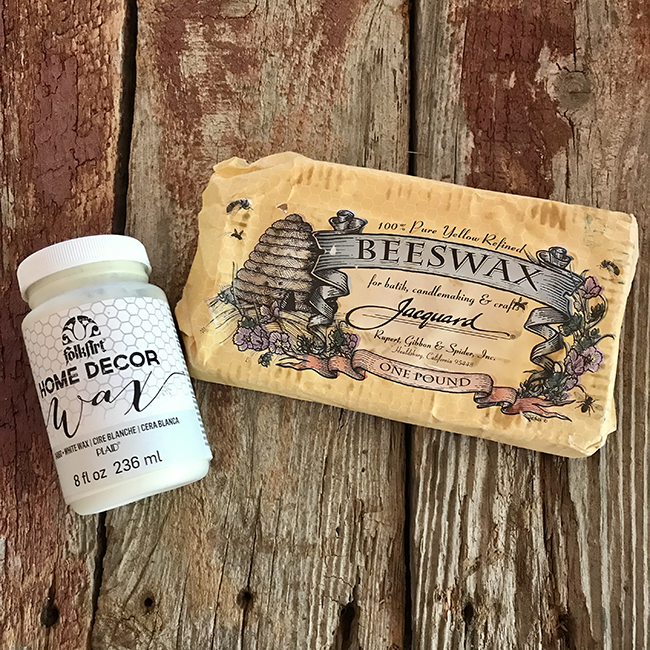
Sealant (varnish glue, transparent glue, or special diamond painting sealant)
A brush
A diamond painting roller
A cloth
What exactly is a sealant?
A diamond painting sealant is a product specially developed to protect and preserve your finished artwork. The sealant helps the resin diamond beads to adhere on the canvas and keep them in place while protecting your creation.
Your diamond art may be sealed using a variety of sealants, including:
Varnish glue: Available in a variety of finishes (matte, glossy, or satin), you must use a water-based version to avoid harming the diamonds.
Transparent glue: When dried, it will turn transparent. It is critical to select a non-toxic, water-based adhesive.
Special diamond painting sealants: usually water-based, they give excellent adherence without affecting the shine of the diamonds.
To achieve the greatest results and retain the quality of your artwork, carefully follow the manufacturer's application and drying directions for whichever glue you use to secure your diamond art.
Step 1: Inspect your diamond painting
Before you begin applying the glue to seal and protect your diamond art, make sure that all of the diamond beads are properly placed and aligned. If you notice a few diamonds that have come loose or are slightly detached, use the tweezers included in your diamond painting kit to put them back in place. Then, gently clean the canvas with a soft, dry cloth to remove any dirt or dust that has settled on it.
Step 2: Get your diamond art ready
Position your diamond artwork on a clean, level surface. It is critical that your diamond painting is properly positioned so that it is fully flat and the sides do not hang off the table's corners. Remember to preserve your surface to avoid unpleasant surprises later on. Move your roller over your canvas to flatten the diamond art and ensure that all of the beads stick well to the canvas. Avoid pressing too hard as this could damage the diamonds.
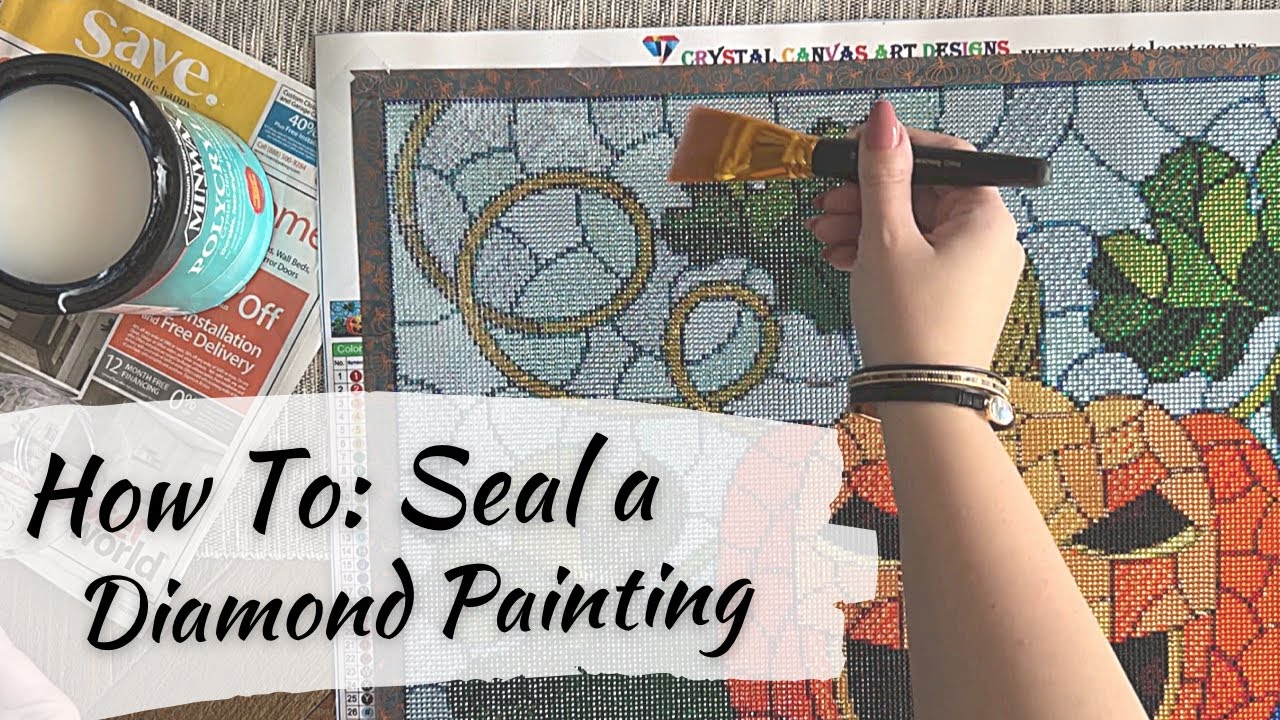
Step 3: Apply the sealant
Now it's time to apply the sealant. Pour a small amount of sealant onto a plate or palette. It can be applied with any brush, whether foam or bristle. It is essential that you choose a brush that is wide enough to provide good control and cover a large number of diamond beads in a single stroke. Apply a thin, even layer of sealant to the entire surface of the diamond artwork, ensuring that all of the beads are covered. Don't be deceived by the white color of the glue at first; once dried, it will turn transparent. Applying too much sealant, on the other hand, may cause the diamonds to lose their luster.
Step 4: Let it dry
Once you have applied the sealant, let your diamond painting air dry. The drying time will depend on the manufacturer of the glue you are using. Don't hesitate to read the instructions on the packaging of your pot. Allow the sealant to completely dry before proceeding to the following step, since handling a wet or sticky diamond painting could harm your canvas.
Step 5: Apply a second coat (optional)
You can apply a second coat of sealant depending on the type of sealant you're using and the level of protection you desire for your diamond painting. If you do this, ensure sure the first layer is totally dry before moving on. To apply the second coat, repeat steps 3–4.
You can frame and proudly exhibit your diamond painting canvas once it has been protected and dried. Enjoy your magnificent work of art and don't be afraid to try new diamond painting ideas to show off your creativity!
cbrec/example.json at master · idiap/cbrec · GitHub
【Hot Product】5D Diamond painting kit is a new fashion craft, more realistic than other decorative paintings, simple and easy to learn, it is the most

DKHDBD Diamond Painting Kits for Adults, 12x16 Inch DIY Paint by Numbers for Adults Beginner, DIY Full Drill Diamond Dots Paintings Picture Arts Craft

How to Seal a Diamond Painting: Step-by-Step Guide – Figured'Art
High Quality Materials: The packaging is great and picture looks super nice. Our Diamond painting kit canvas is made of eco friendly materials, color

Clear Campanula Rapunculus Stunning Flowers Diamond Painting Kits for Adults,5D DIY Round Full Drill Cross Stitch Crystal Rhinestone Embroidery

DaiCur Diamond Painting Kits, 9 Pack Gnome Diamond Art
historyexplorer/public/data.json at master · natemcmaster

How To SEAL Your Diamond Painting
MomsRising.org The Future Is What We Do Together
Celestial Harmony Sun and Moon Solar Diamond Painting – Diamond

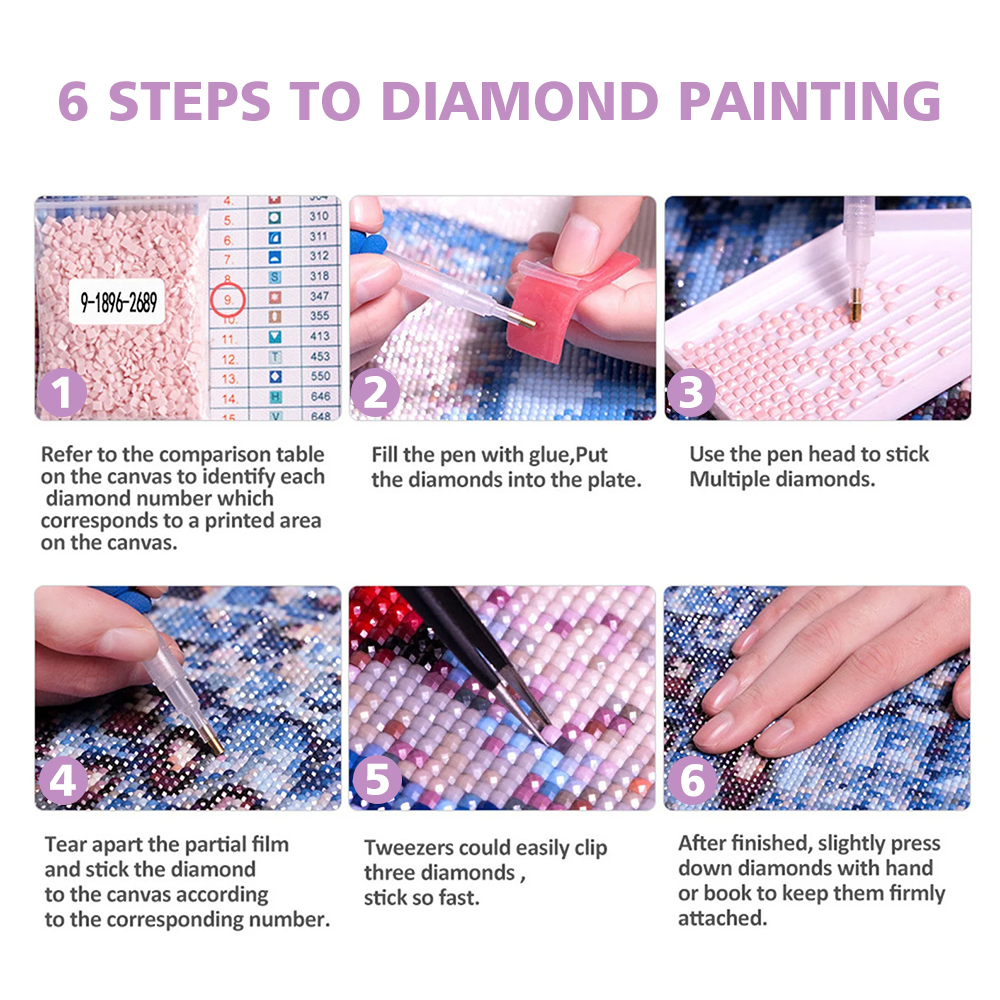
Diamond Painting Instructions: How to Do Diamond Painting